 We’ve secured funding to power Signal-to-Revenue AI to GTM teams globally. →


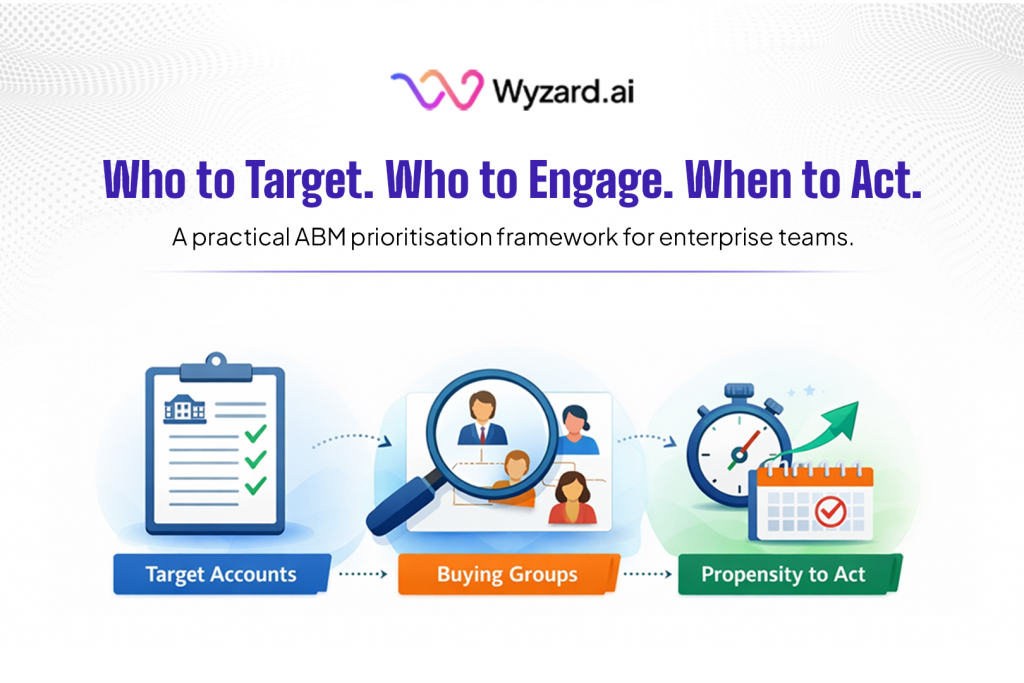
If you are a CMO, one of the hardest moments in ABM comes when the dashboard is full of ...
Subscribe Now
Step 1: Log in to Google Tag Manager
- Action: Visit https://tagmanager.google.com/ and sign in with your Google account credentials.
Step 2: Select the Correct Domain Account
- Action: From the GTM dashboard, select the appropriate Account and Container corresponding to your website.
Step 3: Create a Custom HTML Tag
- Action:
- Navigate to the Tags section in the left-hand menu.
- Click “New” to create a new tag.
- Click Tag Configuration and select Custom HTML.
Screenshot:
1. Create a new tag

2. Select Custom Html Tag as option
Step 4: Add Wyzard AI Chatbot Code Snippet
- Action:
- Paste the Wyzard AI Chatbot code snippet provided by the Wyzard team into the HTML box.
- Ensure the code is correctly formatted and complete.
- Leave the “Support document.write” checkbox unchecked unless specifically instructed otherwise.
- Screenshot:
Step 5: Create an All-Pages Trigger (if not already present)
- Action:
- In the same tag editor, click on Triggering.
- If an All Pages trigger exists, select it.
- If not, click the “+” button to create a new trigger.
- Choose Page View > All Page Views.
- Name it (e.g., All Pages) and save.
Screenshot:

Step 6: Attach the Trigger to the Custom HTML Tag
- Action: Ensure the All Pages trigger is selected and attached to your Wyzard AI Chatbot tag.
Step 7: Preview the Setup in GTM
- Action:
- Click “Preview” in the top right corner of GTM.
- Enter your website’s URL and click Connect.
- Navigate through a few pages on your site to verify:
- The tag fires correctly.
- The chatbot loads and behaves as expected.
- Use the GTM debug console to confirm the tag’s status.
Step 8: Publish the Tag
- Action:
- Once verified in preview mode, click Submit in the top right corner.
- Add a descriptive name (e.g., “Add Wyzard AI Chatbot”).
- Optionally, add a version description (e.g., “Implemented Wyzard AI Chatbot on all pages”).
Click Publish to make the change live.
Other blogs
The latest industry news, interviews, technologies, and resources.
March 16, 2026
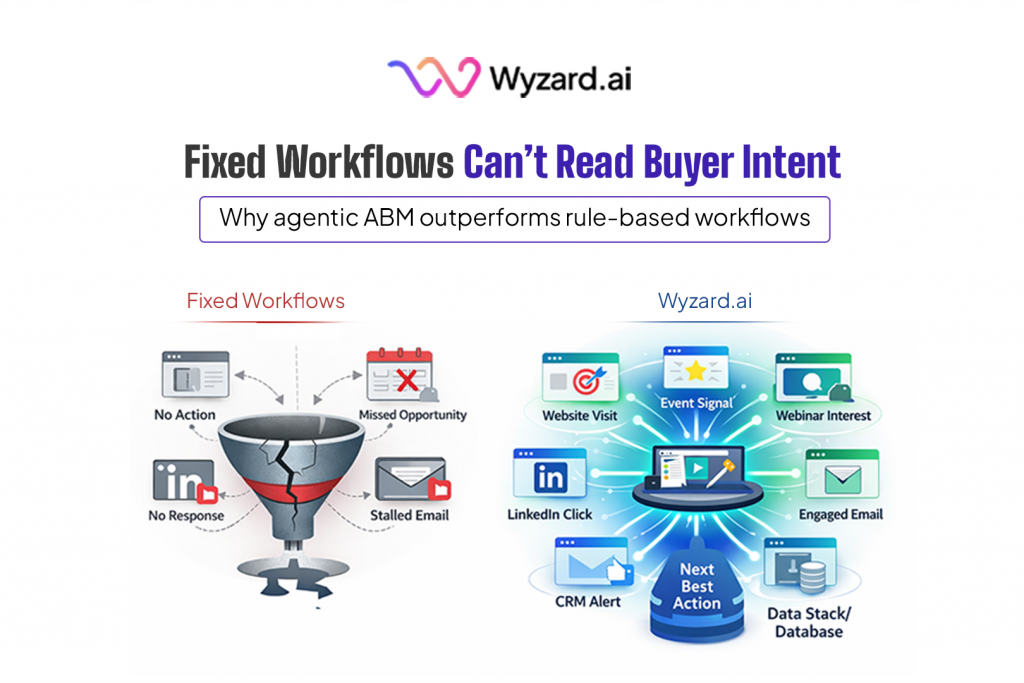
Automation Isn’t Intelligence: Why Agentic ABM Outperforms Rule-Based Workflows
A CMO reviews the weekly pipeline report and sees all the expected activity. A target account visited the website. ...
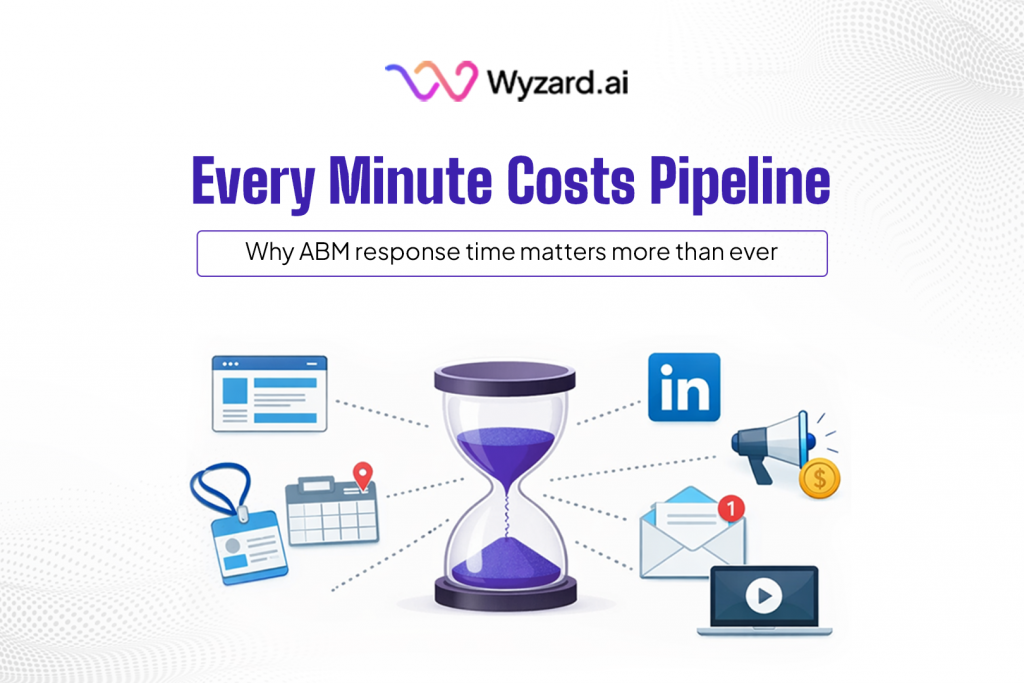
The 5-Minute Rule for ABM: How Fast Response Turns Buyer Intent Into Pipeline
If you are a CMO running enterprise growth, you have probably seen this in a pipeline review. A target ...
